
Table of Contents
*This post may contain affiliate links. As an Amazon Associate we earn from qualifying purchases.
Brewing a batch of delicious, well-rounded beer at home isn’t as difficult as it sounds. If you’re interested in entering the world of homebrewing, you’ll need to go behind the hops to get started.
In this informative beginner’s guide, we’ll discuss the equipment and supplies you’ll need to compile, and then give you some resources for recipes and classes to get started crafting your perfect pint.
This is more than just a discussion of ingredients; it’s an in-depth look at what everything you’ll need to go to brew beer at home.
Homebrewing Equipment
There are several ways to go behind the hops and compile the equipment that you’ll need to get started with your homebrewing adventure. You can purchase a starter kit that includes some, or all of these essential pieces. You can also buy each item individually from a local or online homebrew supply store.
In total, your initial set up should cost you less than $200 and include all of the essential equipment we’ve listed below.
Must-Have Equipment
- A minimum 4-gallon pot. Larger is better. Plan to spend around $30 on something like an aluminum lobster pot.
- 6-gallon plastic bucket equipped with a spigot to assist with sanitizing and bottling. This should cost approximately $15.
- A second, 6-gallon fermentation bucket. Look for one with a lid that has a hole drilled for an airlock; it should cost less than $15.
- Airlock and stopper for around $5.
- You can use either a new pair of pantyhose or invest in three or four small nylon bags for adding hops to the boil. The bags are reusable and are around $3 each.
- A racking cane, which should run you around $10, to siphon the beer out of your kettle or fermenter.
- An acid or iodine-based food-grade sanitizer which costs around $10.
- Both a hydrometer and a hydrometer jar that together goes for around $10.
- A waterproof thermometer that has a range that includes temperatures of 130 to 190 degrees Fahrenheit. These are less than $10 even with fancy bells and whistles.
- To bottle your beer, you’ll need caps, a capper, and a bottling wand which together are around a $25 investment.
- In addition, you’ll also need to purchase the bottles themselves. Decide if you want to use 12oz or 22 oz bottles, and then do the math to ensure you have enough to bottle five gallons of beer. You’ll need 55 of the 12 oz size and 30 of the 22 oz size to accommodate it all. These will run you around $40.
- For transferring beer and filling your bottles, you’ll use five feet of 3/8 inch beverage line that will cost you less than $5.
Equipment Extras
While the above accouterments are all you’ll need to get started, the pieces below are a few that while not essential, are nice to have and can improve the efficiency and quality of your homebrew.
A wort chiller is both a time saver and can improve the flavor of your beer. It’s a more expensive piece at around $100, but many homebrewers feel it’s a worthwhile investment piece.
Another pricey, but potentially worthwhile option is an eight-gallon stainless steel kettle with a ball valve. Used in place of the pot we mention in the essentials; this flashy piece of equipment looks good and is built to be durable and long-lasting. It has a price tag of around $160 and is also a good way to upgrade your equipment down the road.
Home Brewing Supplies
Although there’s a lot that happens behind the hops to craft an exceptional batch of home-brewed beer, we would be remiss if we didn’t take the time to discuss each of the ingredients.
The perfect pint will be a combination of malts, water, hops, and yeast formulated and mixed with precision to produce everything from a pale ale to a stout. Here’s what you need to know about your base ingredients.
Malts
Malted grains, or malts, are one of the crucial ingredients in beer. Made by allowing grains to partially sprout before heating them up to halt the germination process, they provide the starch and sugar that feeds the yeast in your brew.
Traditionally, beer uses barely as its malt, but you could also incorporate rye, corn, wheat, rice, or oats into the mix for a different flavor or character.
Toasting malts can affect the color and flavor of your beer, and incorporating a combination of base and specialty malts can give you interesting flavors.
Water
Although they taste nothing alike, beer is mostly water, and this is an essential ingredient in your combination. While it’s not necessary to do anything fancy to use it in your brew, it’s possible to manipulate your water to get some exciting results.
If you’re just getting started, you can use whatever water you would normally drink. If your tap water is safe, that’s a great place to start.
If you are a more experienced homebrewer, you can play around with adding minerals to your water to mimic famous brewing regions or using hard and soft water to get a different result.
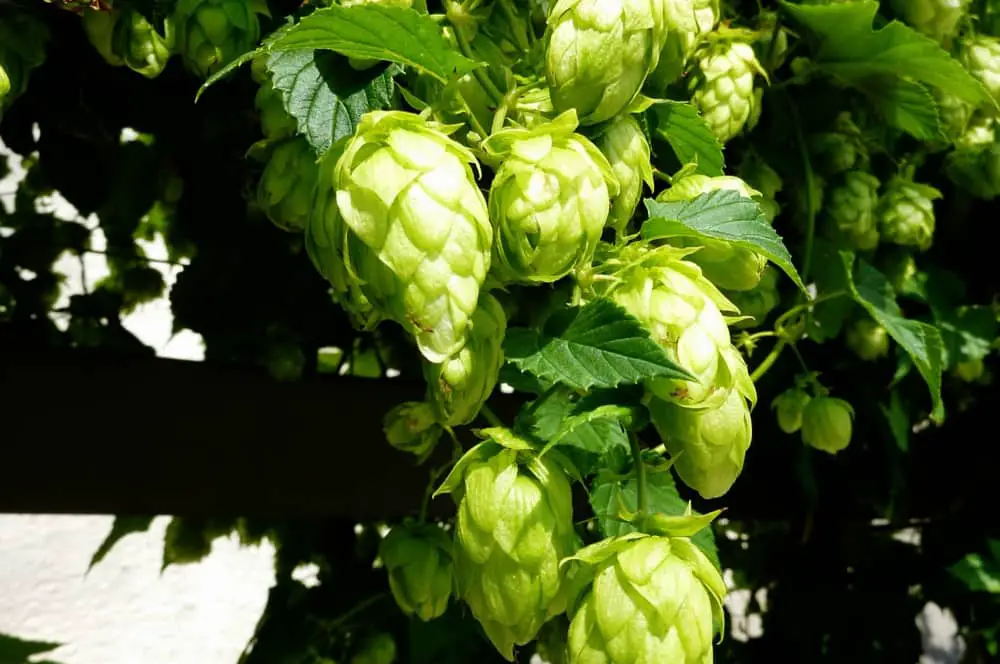
Hops
Technically a flower, these green buds are what counterbalance the malt flavors in a beer to give you bitterness and a well-rounded palate. They also have preservative properties and will keep your beer fresh longer.
You can use either whole-leaf or pellet hops depending on your recipe and will want to be familiar with the difference. Whole leaf hops are usually fresh and spoil quickly, while pellet hops are dried and compressed and last longer.
There are two characteristics of hops you need to understand to choose which is best for your brew: resins and oils.
Hop resins are what give beers their bitterness. The different hop varieties will have different levels of resin, and they are measured by their alpha acid percent (AA%). When you purchase your hops look for the label on the side that indicates how bitter they will be.
Hop oils are responsible for the aroma of your brew, and can add to the overall flavor mix too. If you’ve ever sipped a batch that smells like citrus, pear, guava, spice, flowers, or pears, then you’ve encountered the power of hop oils. Like the resins, each batch of hops will have a different aroma you can use to make a completely unique batch of beer.
Yeast
Yeast is the ingredient that transforms your beer from the hop and malt soup into a delicious, alcoholic cocktail.
These micro-organisms eat sugar and will process your malt and release carbon dioxide and alcohol as they do. Once the yeast has consumed all of the sugar in your wort, you’ll officially have beer.
There are two different types of yeast, Ale, and Lager, and each is designed to work best at different temperatures. Pay attention to which your recipe calls for, and handle them with care. Yeast can be temperamental and tricky to work with if it’s not treated correctly.
As a homebrewer, you’ll also have the choice between working with dry or liquid yeast. Both are readily available, but of the two liquids, yeast is the more perishable. They each offer many options, but liquid yeast comes in a larger variety of strains making it popular amongst those who want to experiment along the way.
How to Brew Beer at Home
There are hundreds of tutorials that feature tips and techniques on how to brew beer at home. One excellent resource is the American Homebrewers Association.
In their 24-step tutorial, they walk you through every action needed to craft a ZAITH Weizen, a German-style wheat ale that is both delicious and easy to make. The organization recommends that you read through the entire process before you start so that you ensure you have all of your ingredients and will have an efficient and productive brew day.
Start with extract-only recipes until you master the technique before moving on to more difficult mixtures.
Once you’ve mastered the necessary steps, you’ll want to explore additional homebrewing recipes to add to your arsenal. Choose a beer variety you enjoy, and try your hand at recreating the bitterness of an IPA, the brightness of a Hefeweizen, or the complexity of a red ale.
Homebrewing Classes
If you’re someone who appreciates a more step-by-step hands-on education, check out the variety of homebrewing classes available both online and in person.
Some universities, like Oregon State, offer degrees in brew related subject areas like Fermentation Science. If you’re looking for a future career as a brewmaster, or want to go back to school, these programs are an excellent way to get an in-depth education on the subject.
If being a full-time student is out of reach, but you still want to expand your knowledge base, check out one of the dozens of classes available online to teach you new methods, techniques, or even the basics about a particular brew.
The Brewers Association keeps a robust list of brewing classes and schools that offer programs to everyone from professionals to amateurs in both in-person and online environments.